ESP8266 DeepSleep Mode Button
I ran across this neat idea on Random Nerd Tutorials that is basically a way to make your own Amazon Dash button with a customizable action. While you can certainly get your own Amazon Dash button and hack it for your needs, this solution uses a simple ESP8266 module and a small Arduino sketch.
The code is available here.
In most of my blog posts, I mention the use of Espurna - but with this, it's so simple and beautiful. You only need a small sketch to do this. The idea is:
- Place the ESP8266 in DeepSleep mode all the time.
- On a reset (waking up the device), connect to Wi-Fi and make an HTTP request.
- Go back to DeepSleep.
I decided to give it a try. I took a look at the sketch first and saw that the setup function immediately put the device into sleep after connecting via wifi and making the HTTP request (the original post on Random Nerd Tutorials is how to make this run an IFTTT action).
void setup() {
  Serial.begin(115200);

  initWifi();
  makeIFTTTRequest();

  // Deep sleep mode until RESET pin is connected to a LOW signal (pushbutton is pressed)
  ESP.deepSleep(0);
}
The main loop function does nothing.
void loop() {
  // sleeping so wont get here
}
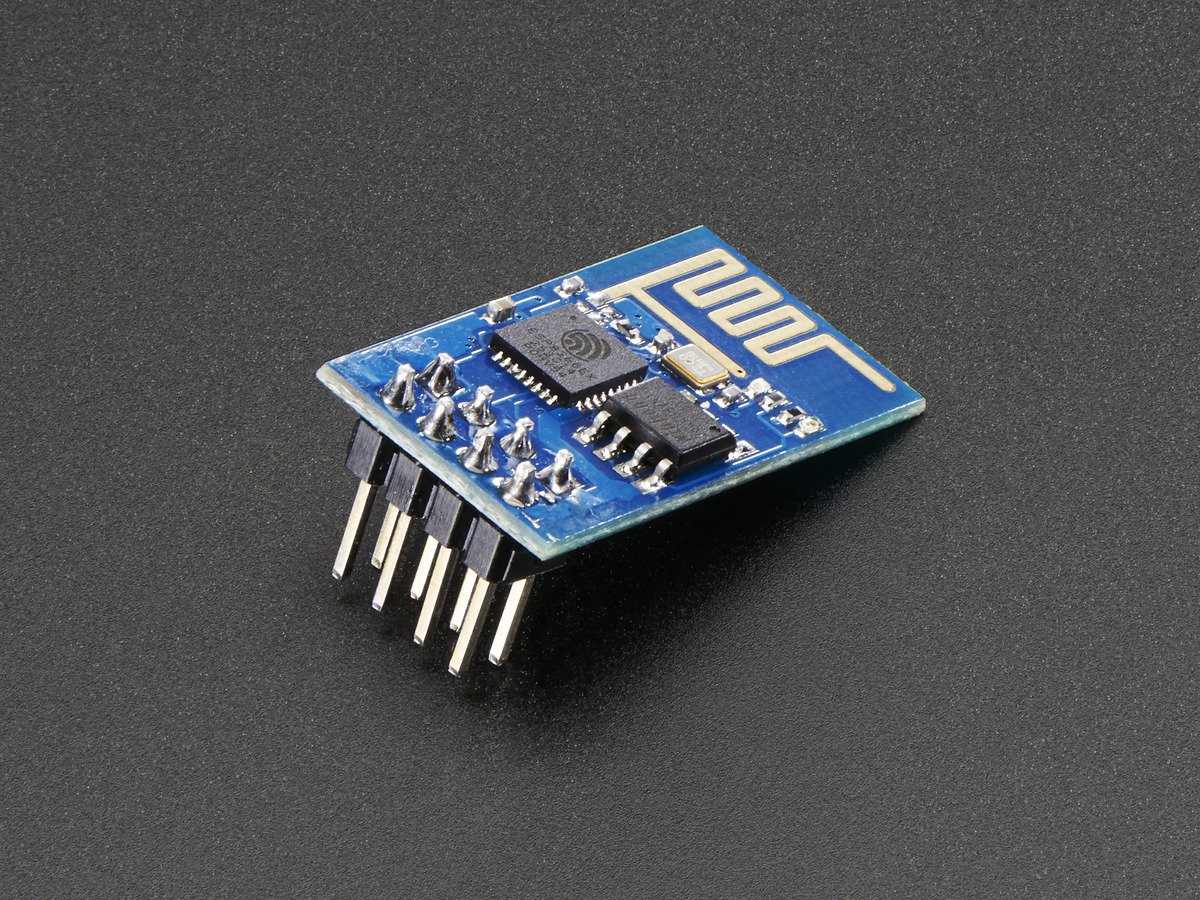
And that's it. So, you simply wire up a button to the ESP8266 reset pin and every time the thing resets, it connects via Wi-Fi and does an HTTP request. Simple and brilliant. Usually, you would run something in the main loop - it never occurred to me to NOT run anything in there and use DeepSleep. The deep sleep feature in the 8266 makes running off a battery viable as it sips on a little juice at a time.
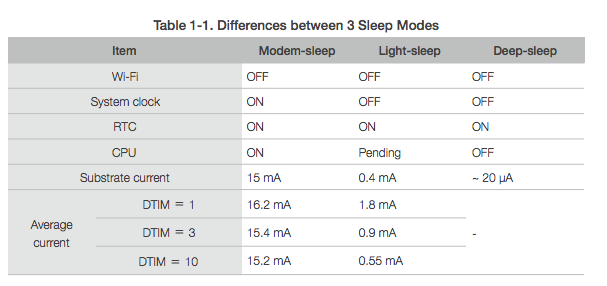
As you can see in the chart, only the RTC is running in this mode. So, it sips about only 20 microamps! I confirmed this on my little USB tester.
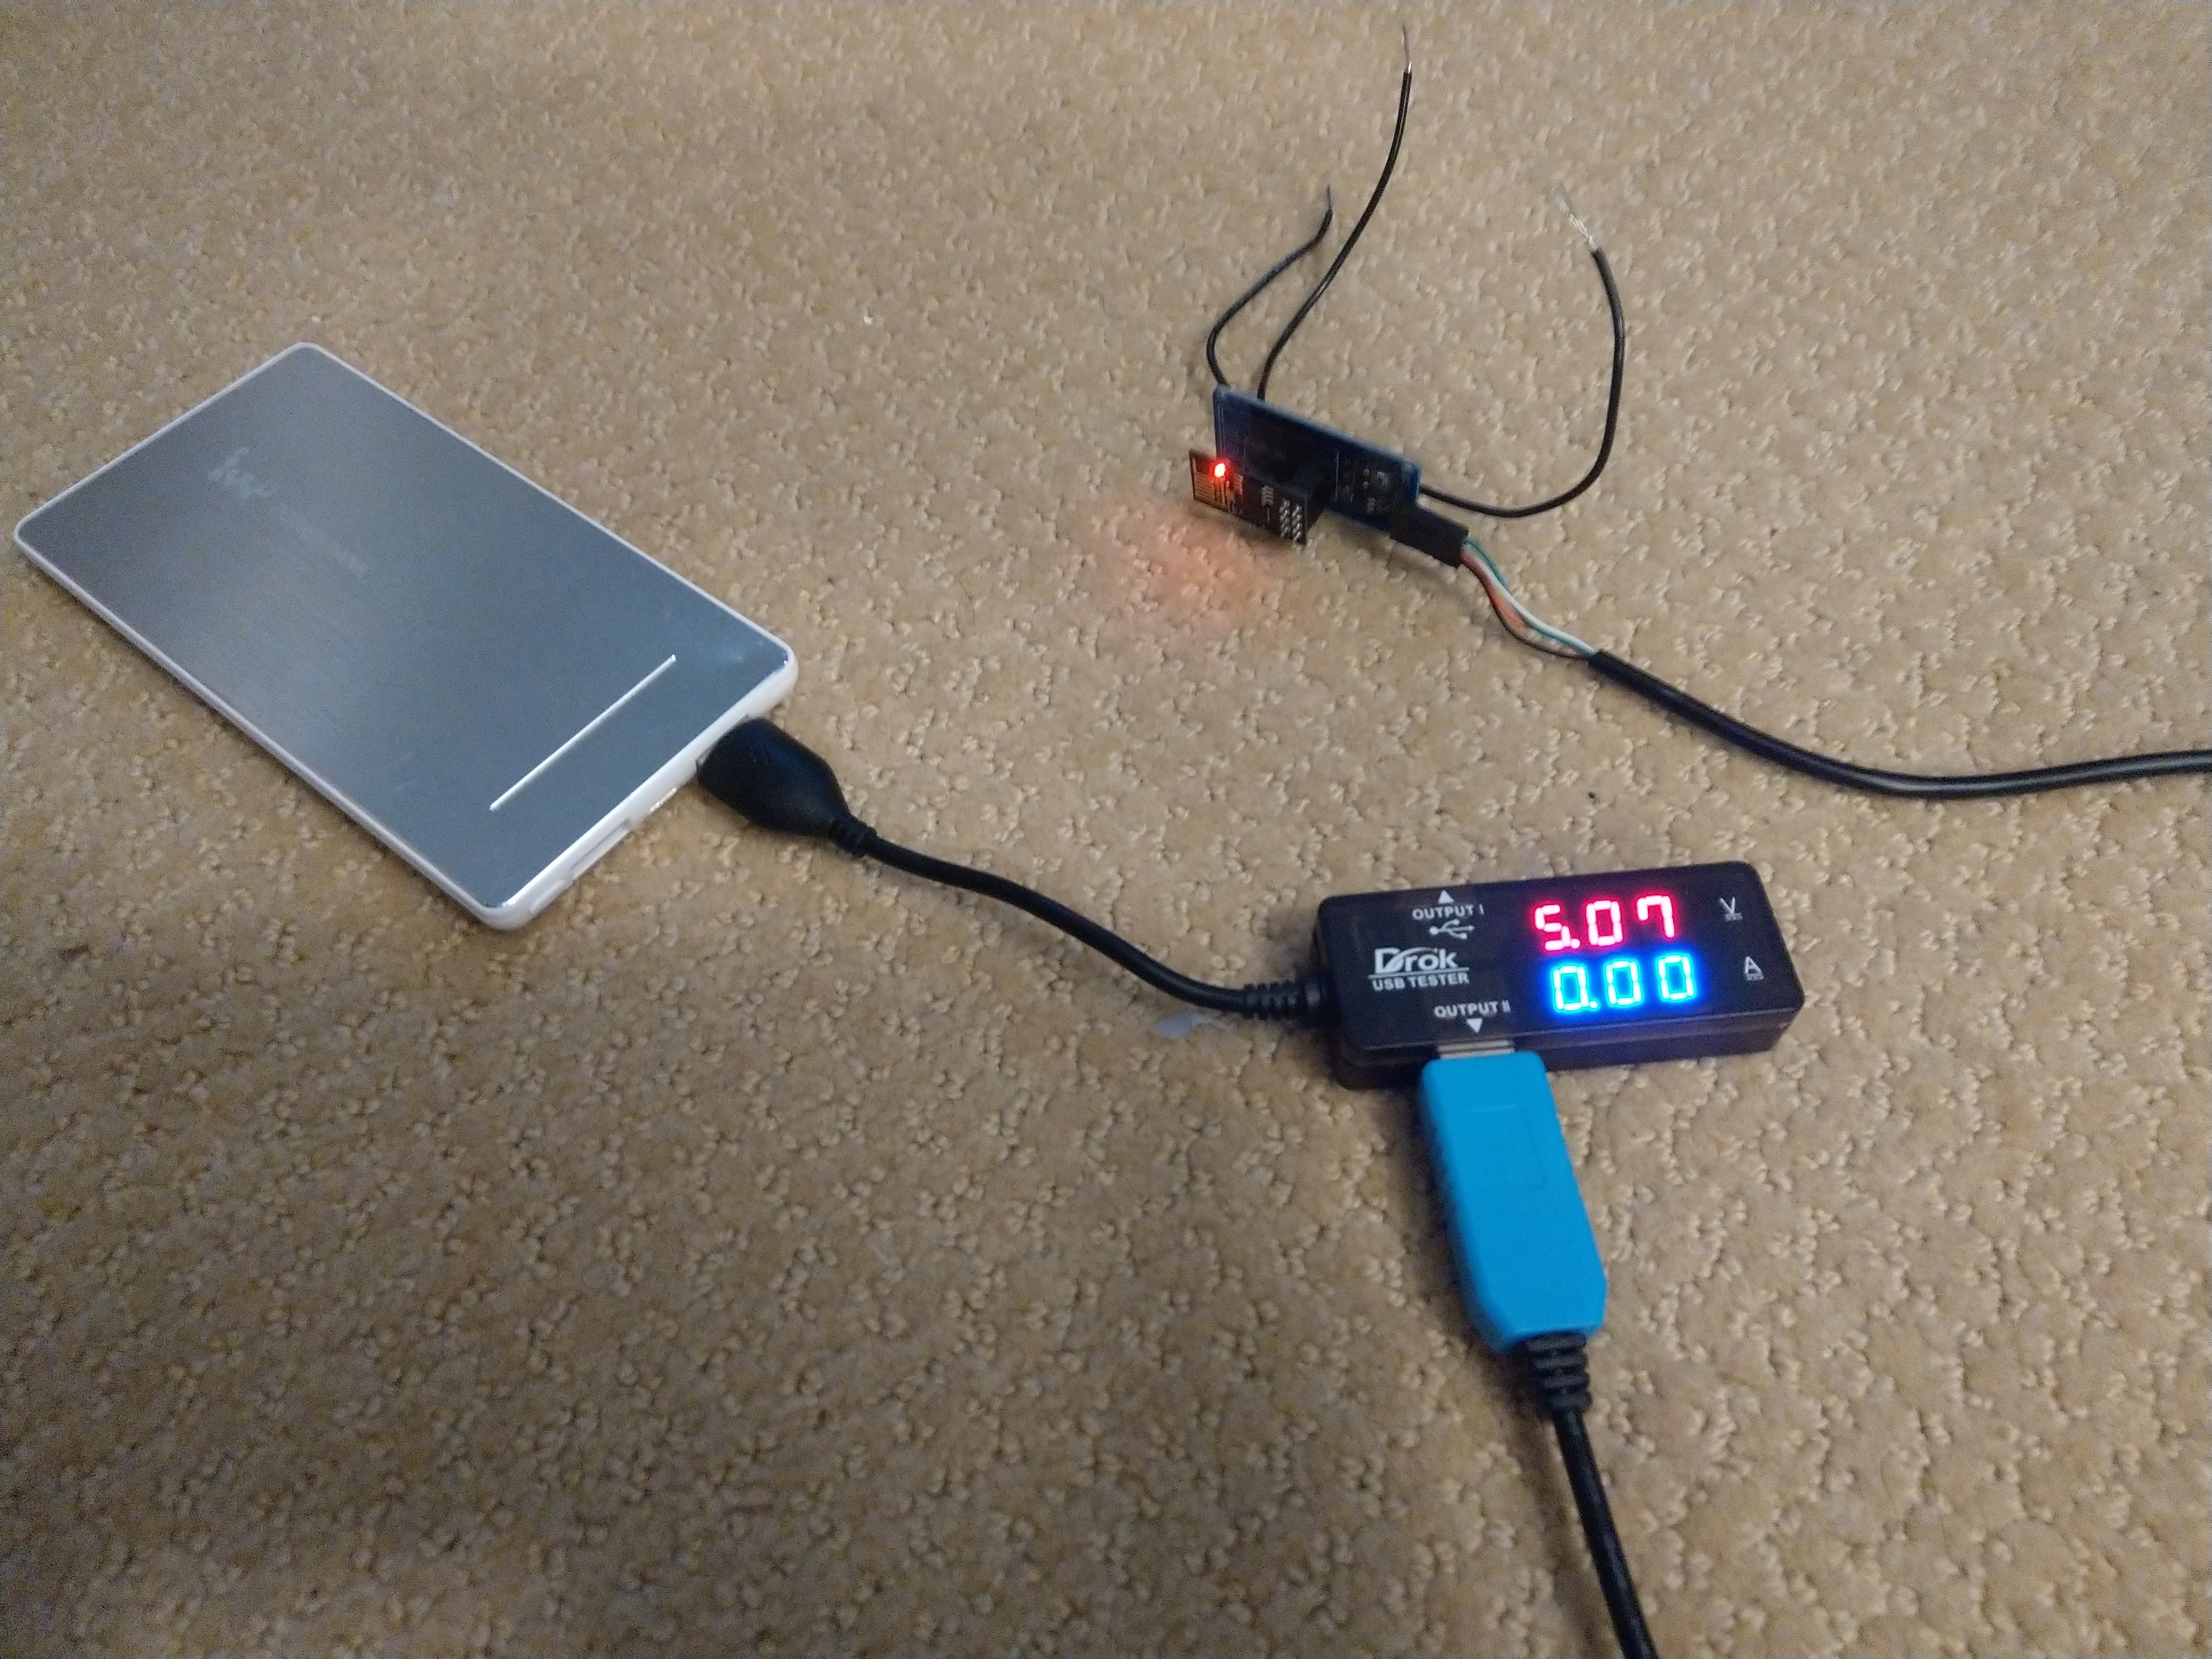
I actually thought something was wrong with my tester as I had expected to get some reading above 0. It wasn't until I read the specs saying it would draw around 20 microamps. So, "0.00" is about right. :)
So, I wanted to try this with something in my home. I set up a script to toggle my light and exposed it via vutil. I posted about vutil previously here. After exposing the light control via HTTP, I just needed to alter the sketch a bit.
In the makeIFTTTRequest() function is a simple HTTP GET. I need to change it to do an HTTP POST. So, the request now looks like this:
Serial.print("Request resource: ");
  Serial.println(resource);
  client.print(String("POST ") + resource +
                  " HTTP/1.1\r\n" +
                  "Host: " + server + "\r\n" +
                  "Accept: */*\r\n" +
                  "Content-Length: " + content.length() + "\r\n" +
                  "Content-Type: application/x-www-form-urlencoded\r\n" +
                  "\r\n" +
                  content +
                  "Connection: close\r\n\r\n");
The sketch variables at the top need to be changed for webserver and resource. webserver should be the IP where you want the HTTP POST to hit and resource should be the REST API endpoint (for vutil, that's "/execute/command"). You also need a new variable for the content that will eventually get posted. I named it content. So it looks like this now:
// Replace with your unique URL resource
const char* resource = "/execute/command";

// the webserver
const char* server = "192.168.1.4";

//the POST content
String content = "command=sh toggle_light.sh 11";
And since we are now using String, we need to include the String library at the top:
#include <String.h>
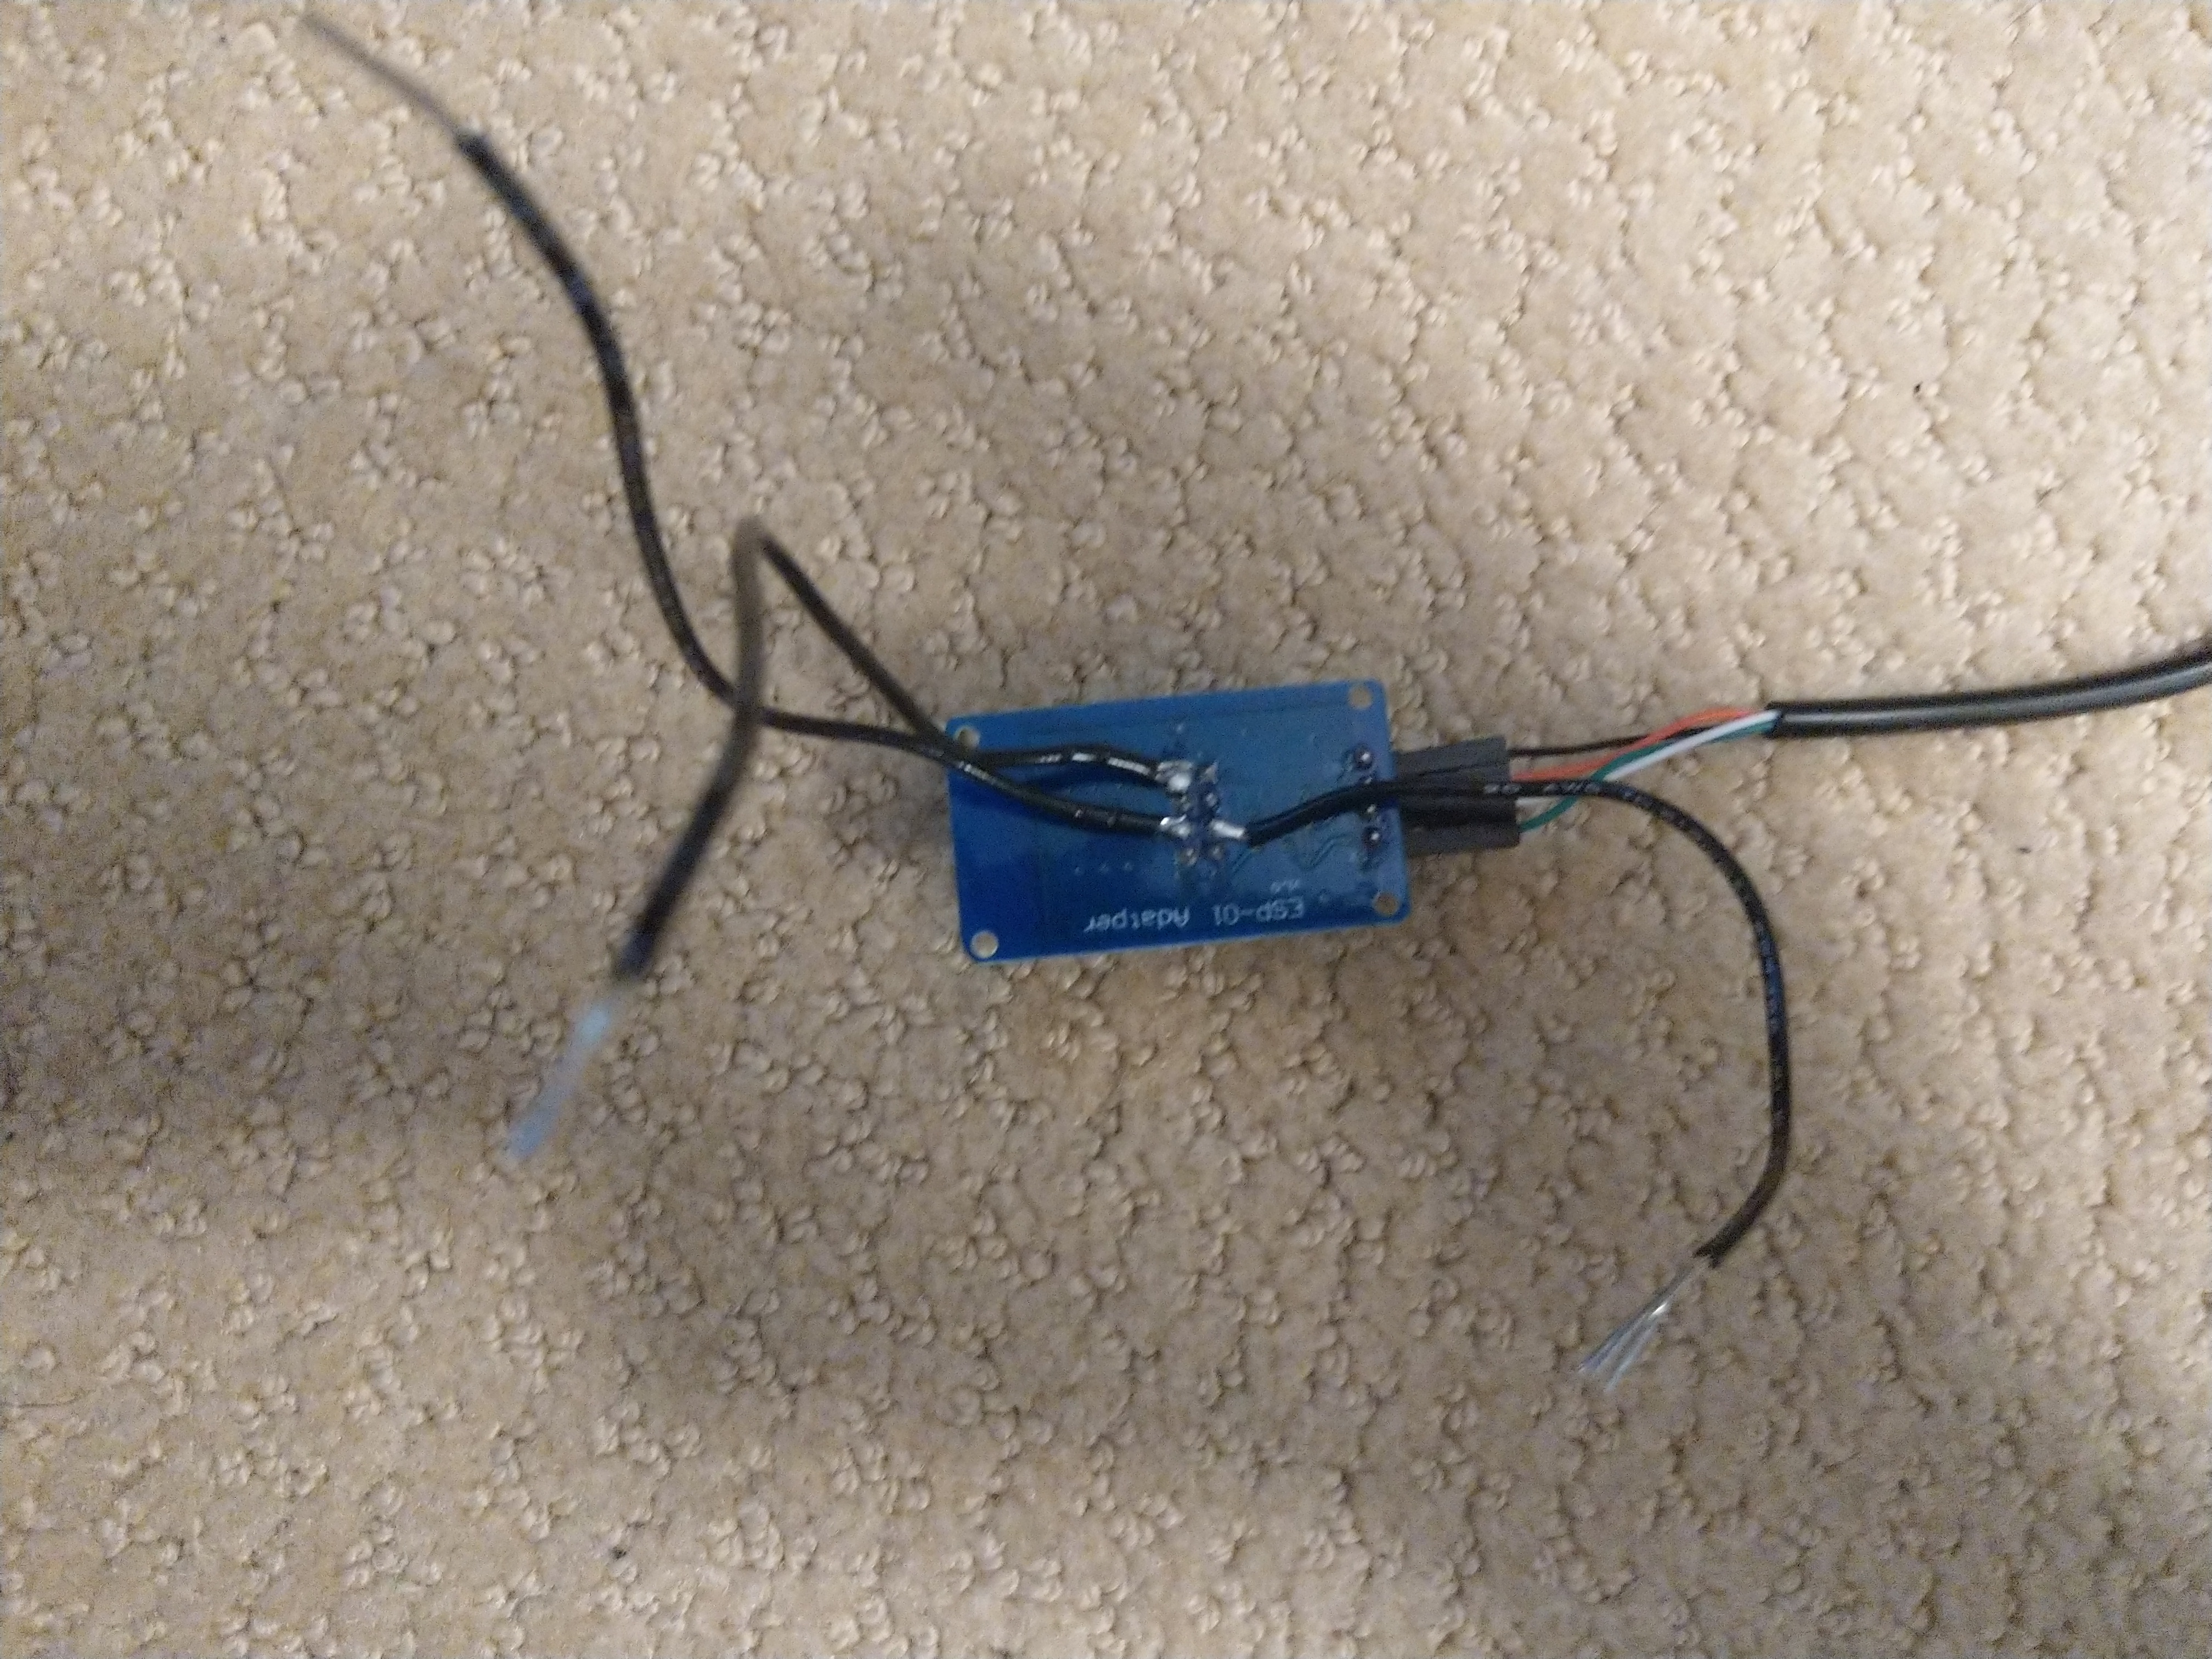
After that, compile and upload to your ESP8266. I have a cheap setup to easily boot or reset my ESP8266 and power it from a 5V source. Please ignore the lousy soldering job.
Here's a video of me trying it out on my prototype board. I don't have an actual button wired up, but I just connect the wires connected to RESET and ground (pull low) to simulate a button press.
*Oops - I said the wiring for reset is RST to voltage. I meant RST to ground (pull low). Sorry!*It works great! If I monitor the serial connection while doing this, I can see what's going on.
Connecting to: MYWIFISSID........
WiFi connected in: 2201, IP address: 192.168.1.129
Connecting to 192.168.1.4
Request resource: /execute/command
HTTP/1.1 200 OK
Content-Type: application/json
Content-Length: 51
Date: Tue, 13 Feb 2018 09:05:36 GMT
Connection: keep-alive

{"pid":17132,"output":"{\"ResponseValue\":\"OK\"}"}
So, it connects to Wi-fi, gets an IP, does the HTTP POST, gets a response, disconnects, and then it goes back to deep sleep (that's not reported in serial output, but you can print something out in the sketch if you really want to). You could expand this to practically anything via HTTP or something with the GPIO. The best part is you can run this off a battery since it sips so little juice in DeepSleep.
Thanks to the folks at Random Nerd Tutorials for teaching me something neat tonight.