Cheap Wall Sconce Conversion - Part 1
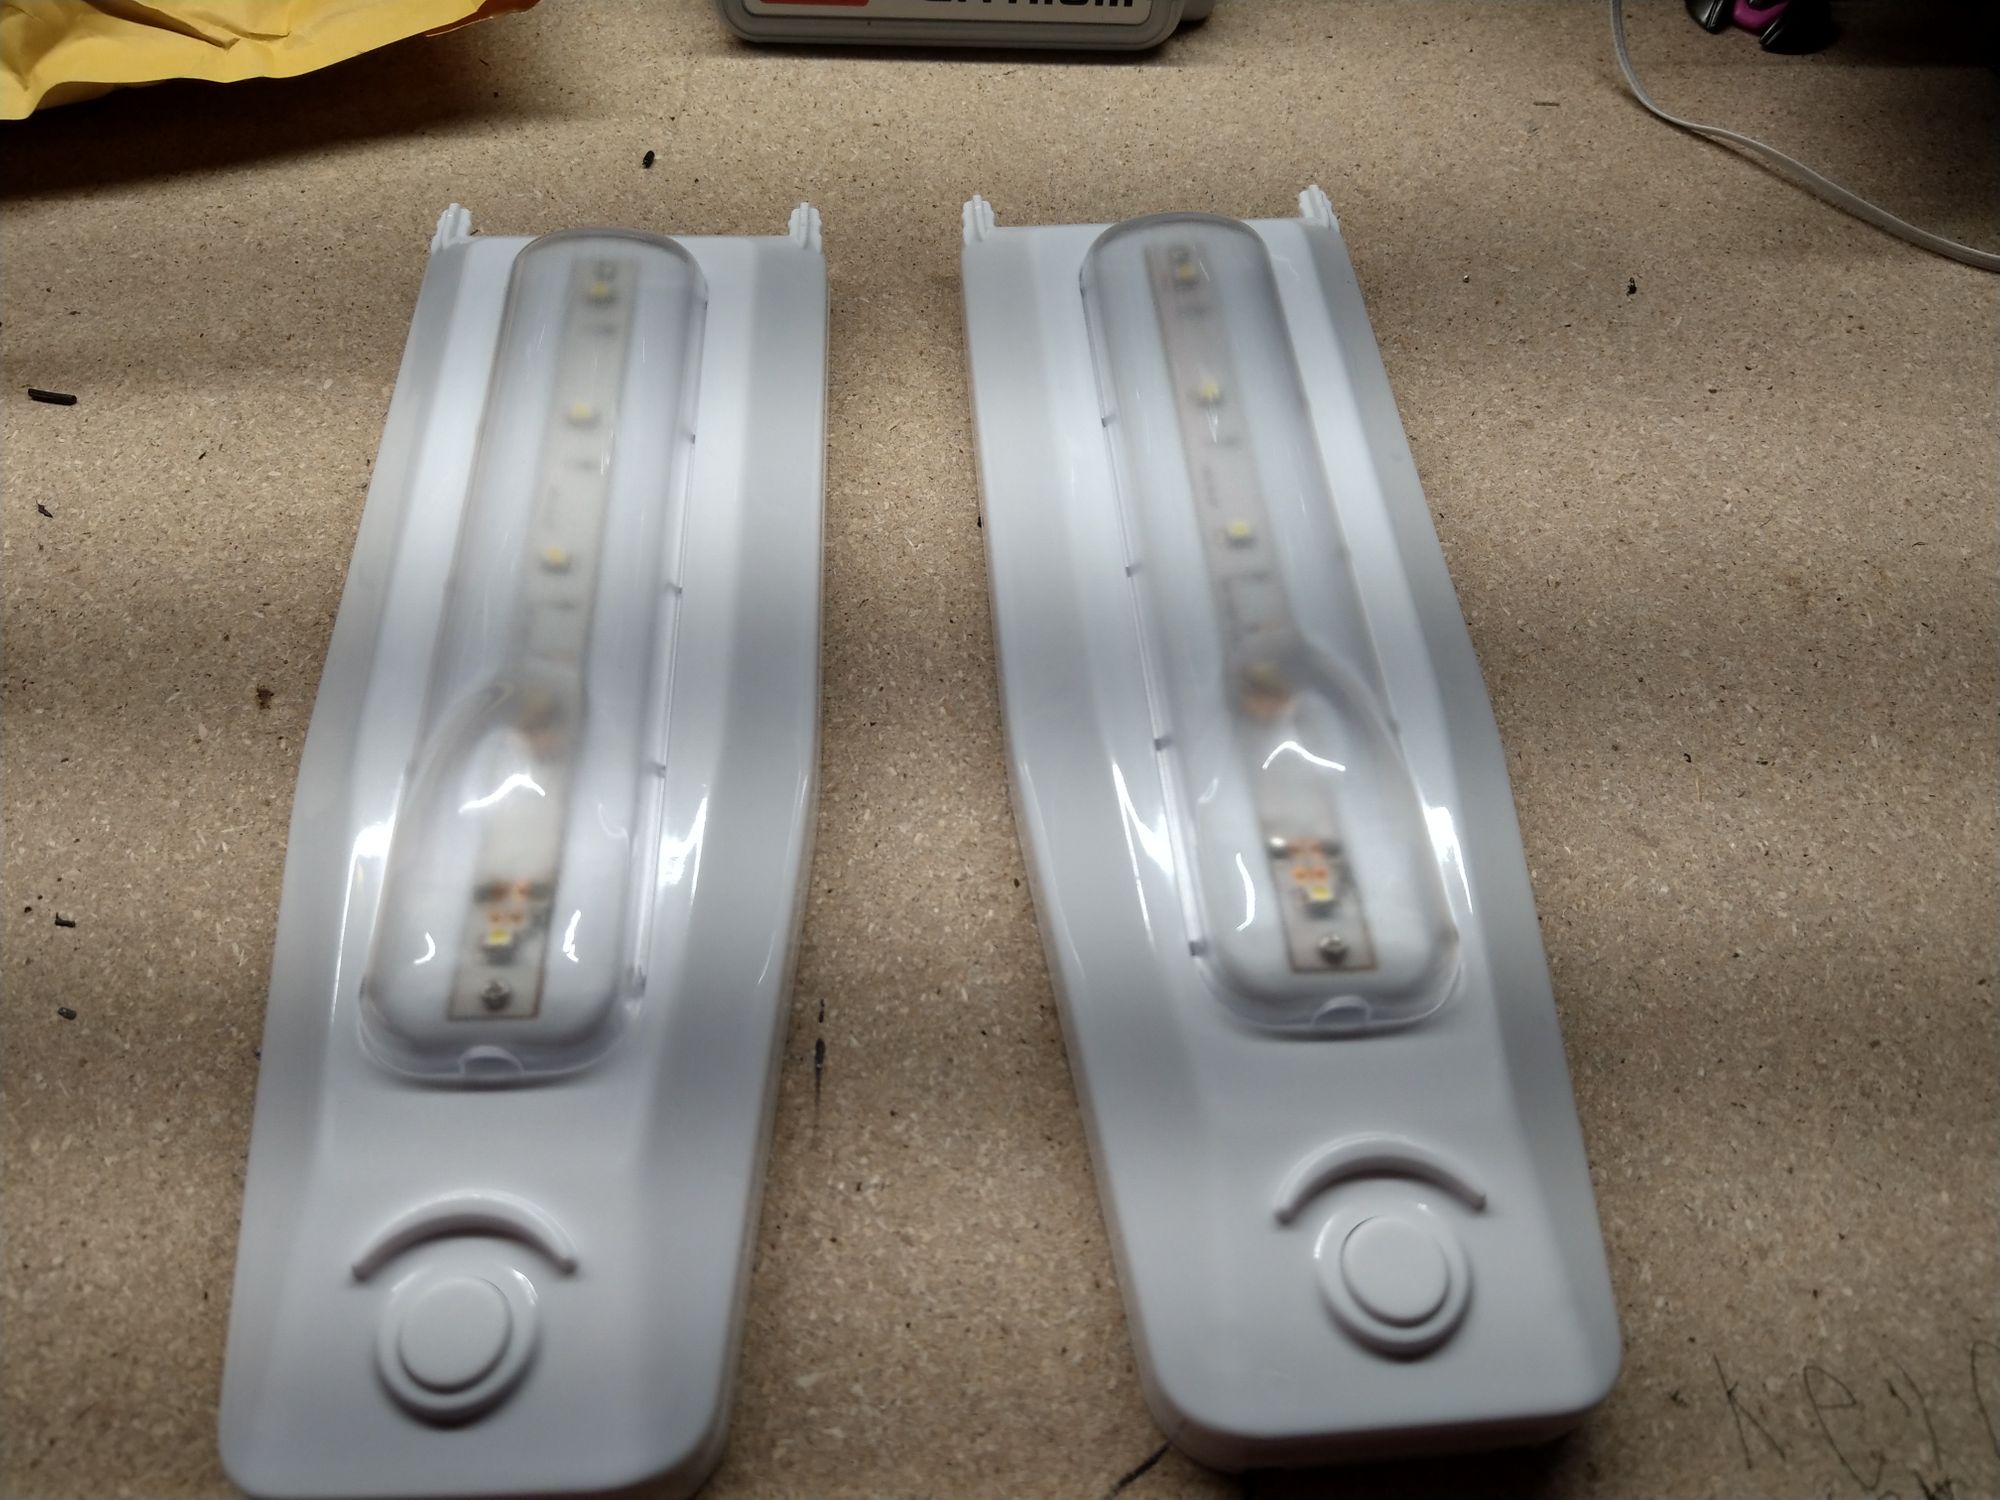
A few years ago, I picked up 3 sets of cheap, AA-battery powered wall sconces for my home theater. You can pick these up anywhere including Ebay for good deals. Here is one I found in a quick google search (but I'm sure you can find it cheaper on Ebay):
https://www.bulbhead.com/battery-operated-led-wall-sconce.html
They worked great, for the most part. It had a manual push button to turn them on. An internal controller allowed the light to stay on for about 4 hours and then turn itself off. It would then turn itself back on at the same time you turned it on previously until the batteries ran out. This was all good until my wife and I got sick and tired of constantly recharging batteries for 6 wall sconces with 6 batteries each.
I investigated the possiblity of wiring these up directly to a AC/DC adapter. It turns out, this was a really easy project. The LED light itself is just the usual light strip you can find anywhere nowadays with DC connectors. I opened up the plastic enclosure to find the power terminals clearly makred on the PCB. Also, by powering the light directly, I can bypass the controller that automatically turns it off/on without doing anything special.

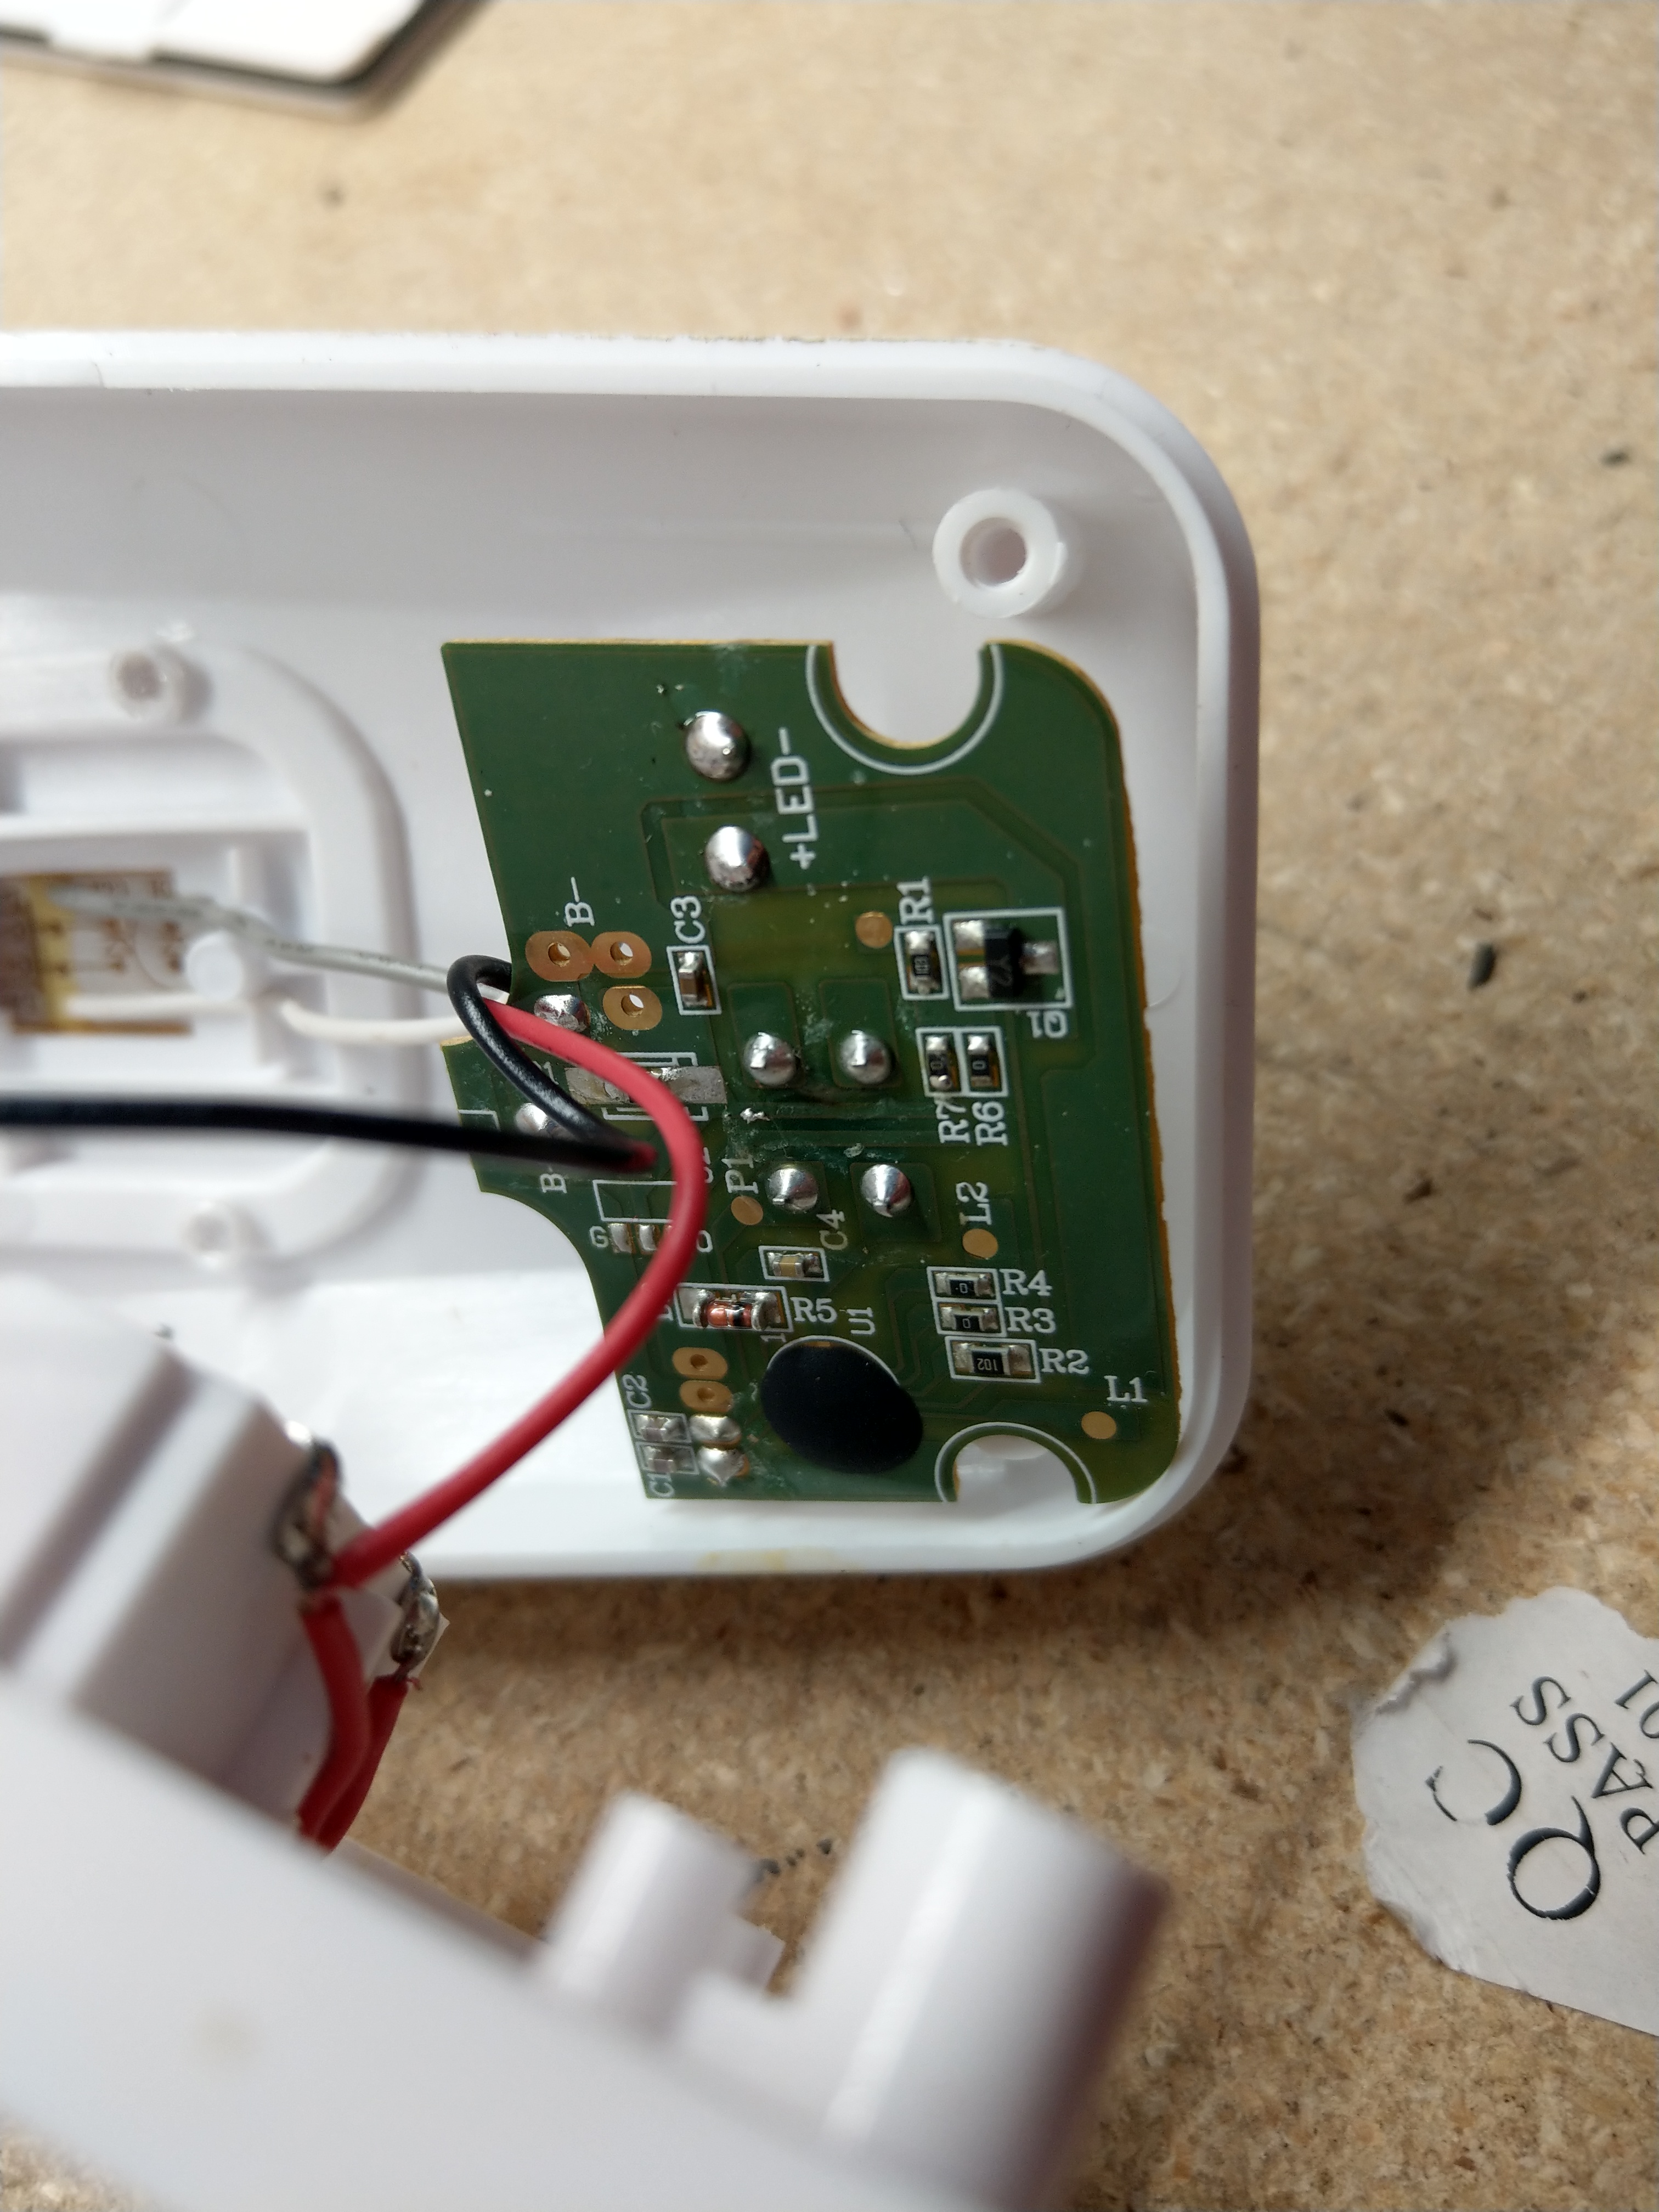
It was just a matter of soldering some hook-up wire and quick disconnects
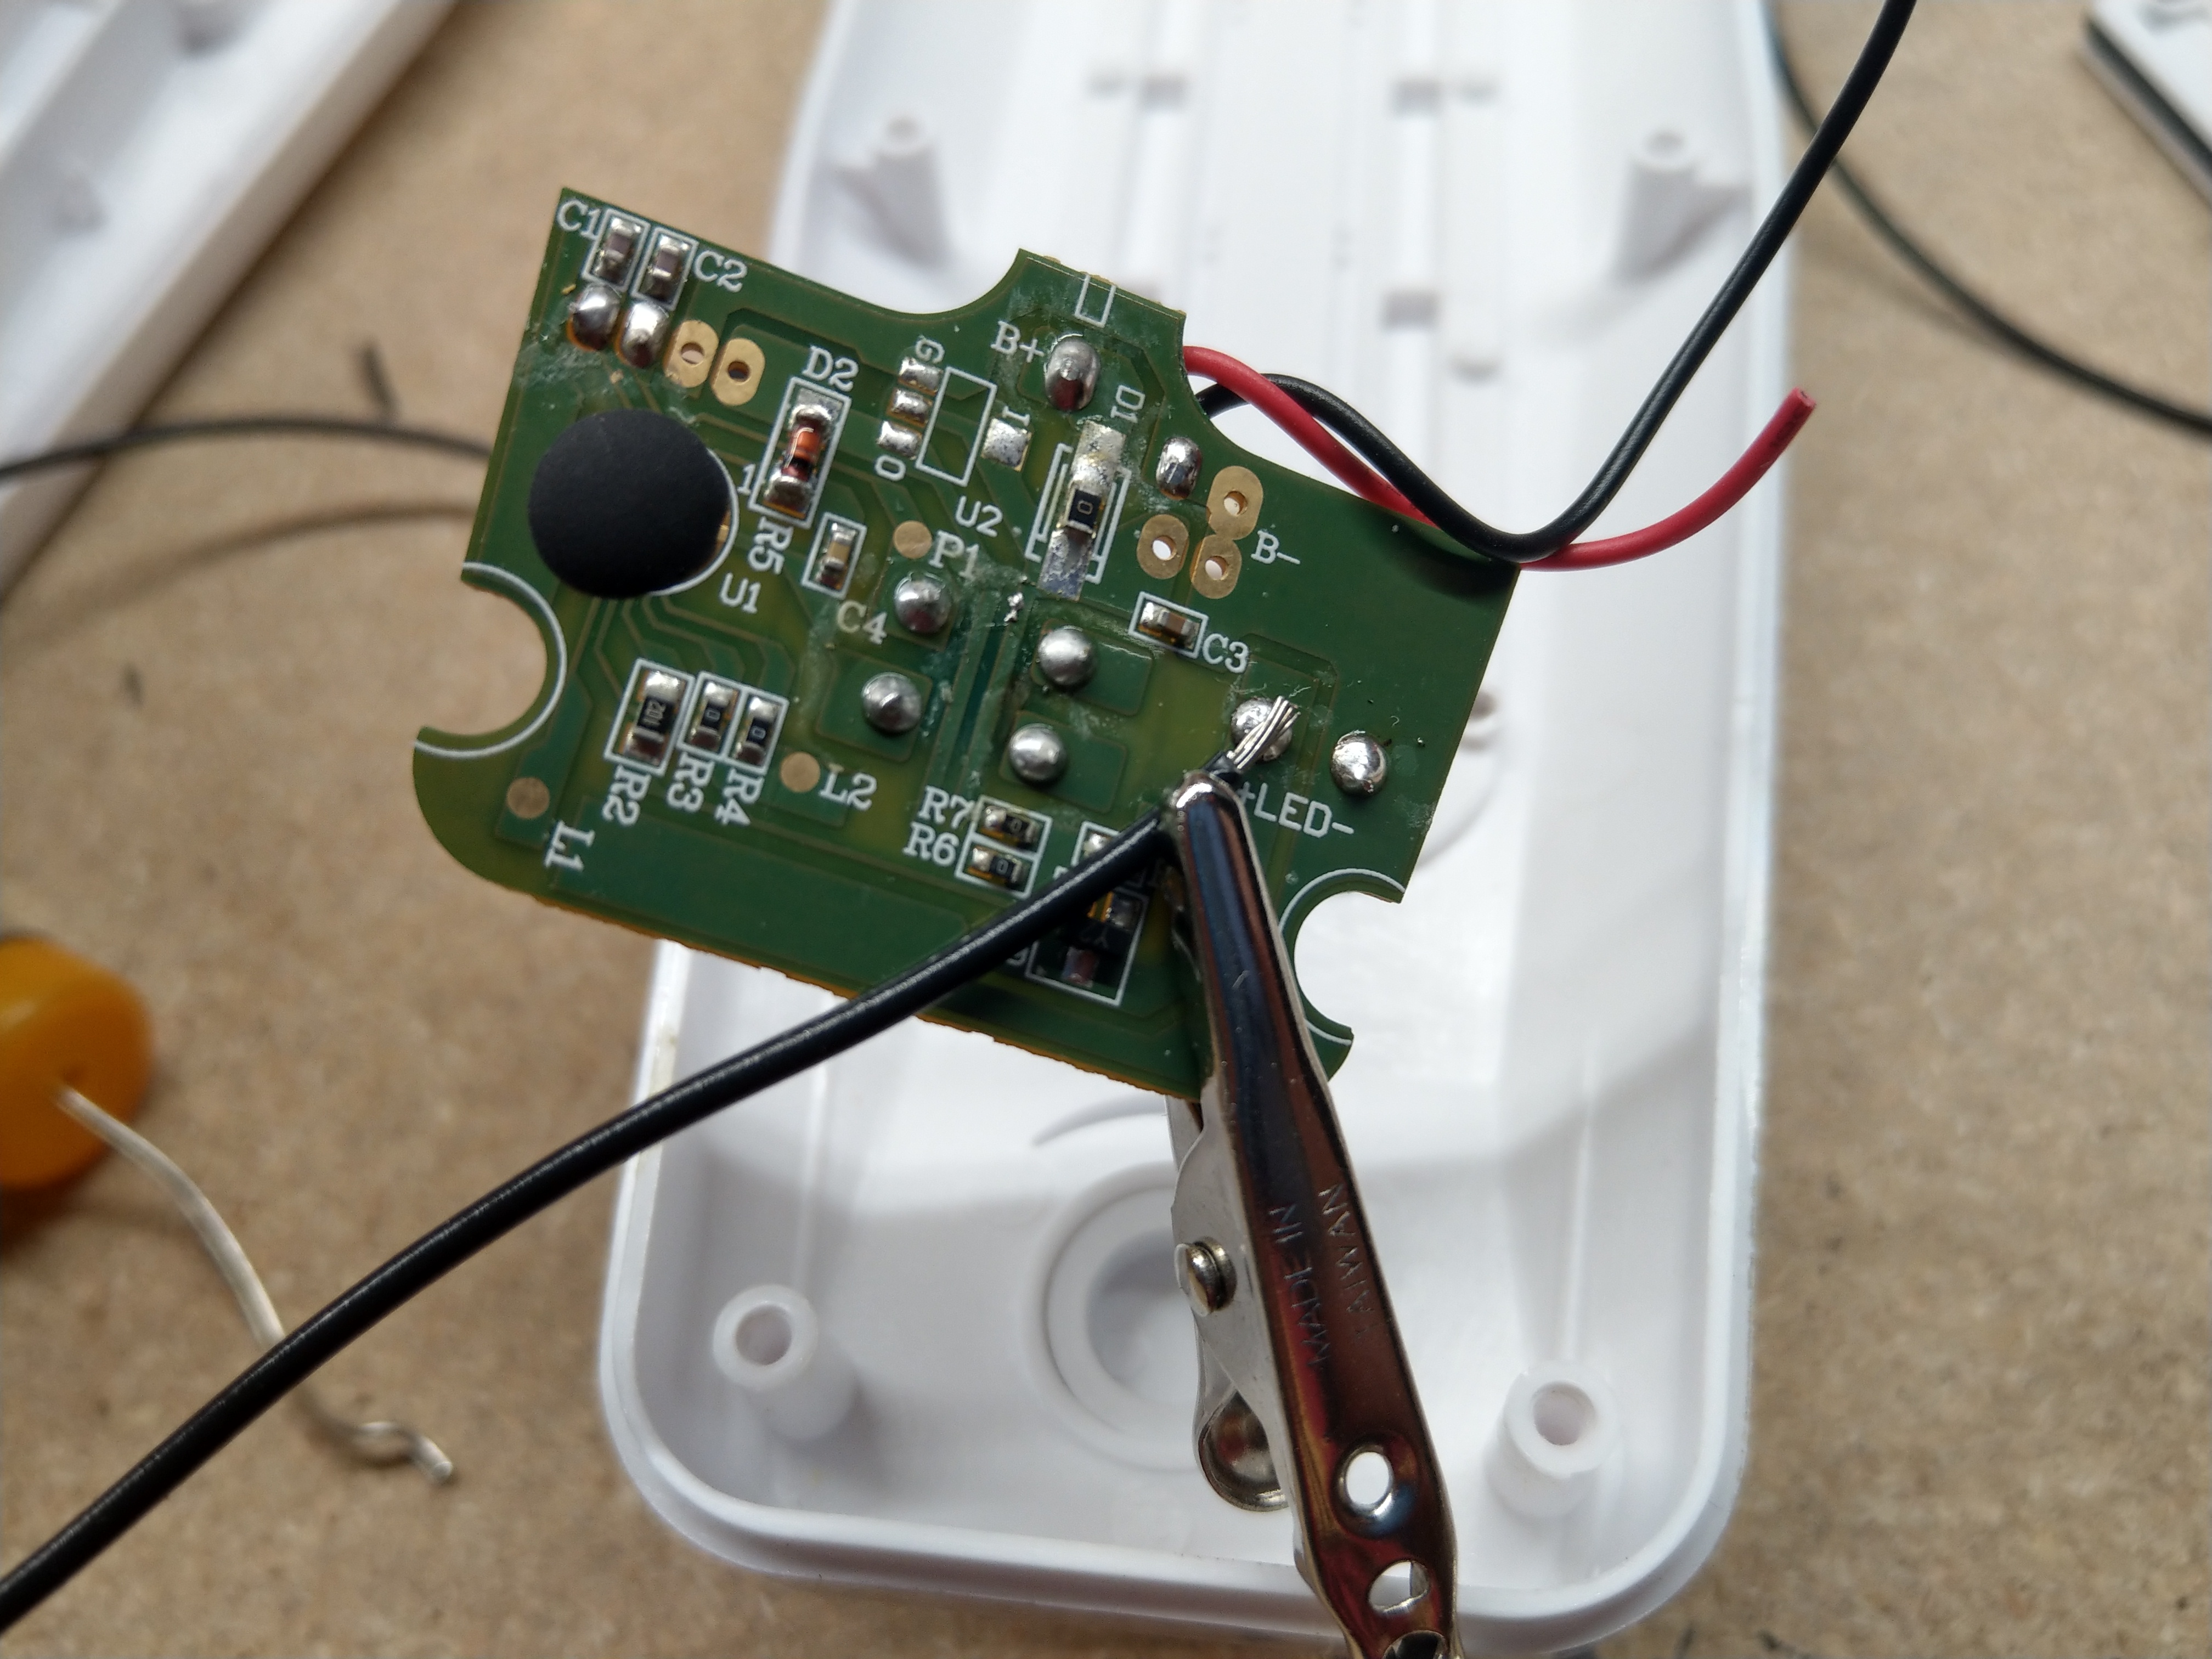
And then, some hot glue because I'm horrible at soldering.
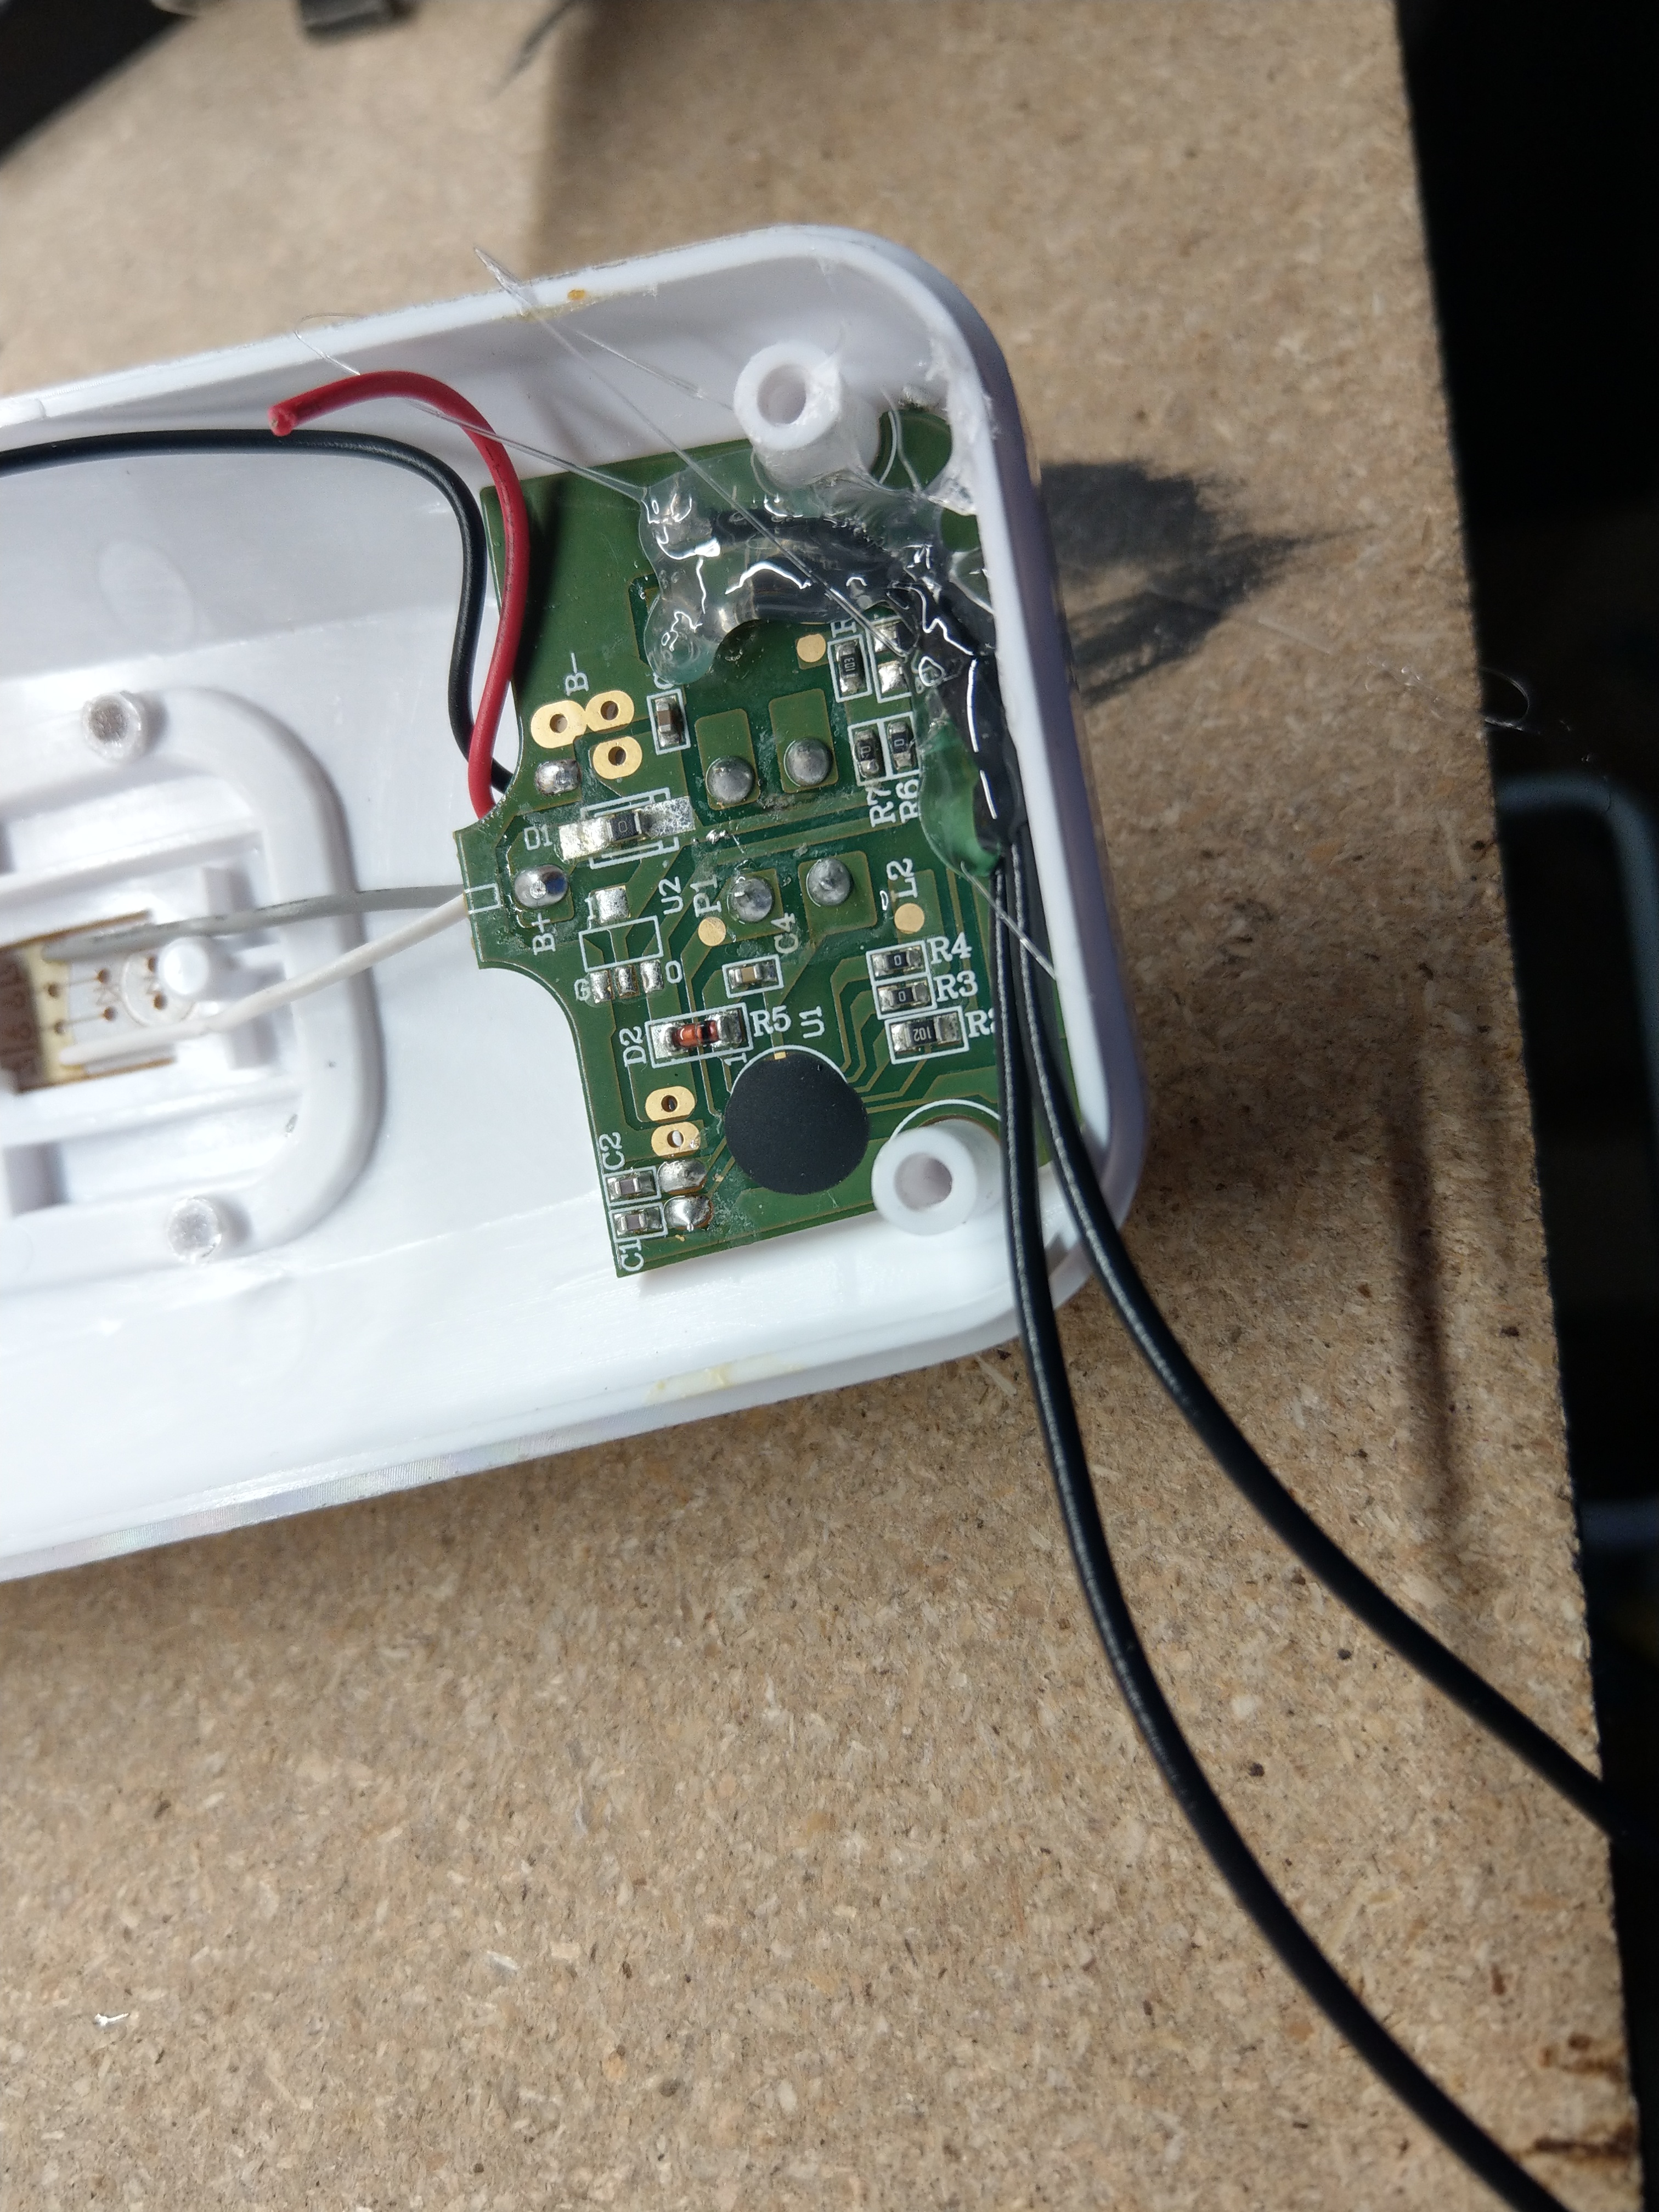
Once the connectors were in place, I could power the lights off some spare 5v AC/DC adapters. But, that's just half the fun. At this point, I wanted to control the lights over my network and with Alexa. This is where the ESP8266 microcontroller comes in. This low-priced controller can be programmed to do practically anything.
https://en.wikipedia.org/wiki/ESP8266
There are tons of resources online on how to program this thing. I opted to go with Arduino as it is well supported, runs very fast, and doesn't take a lot of memory. In my next blog post, I'll detail how to work with the controller and upload custom firwmare. For now, here are more pictures of the setup.
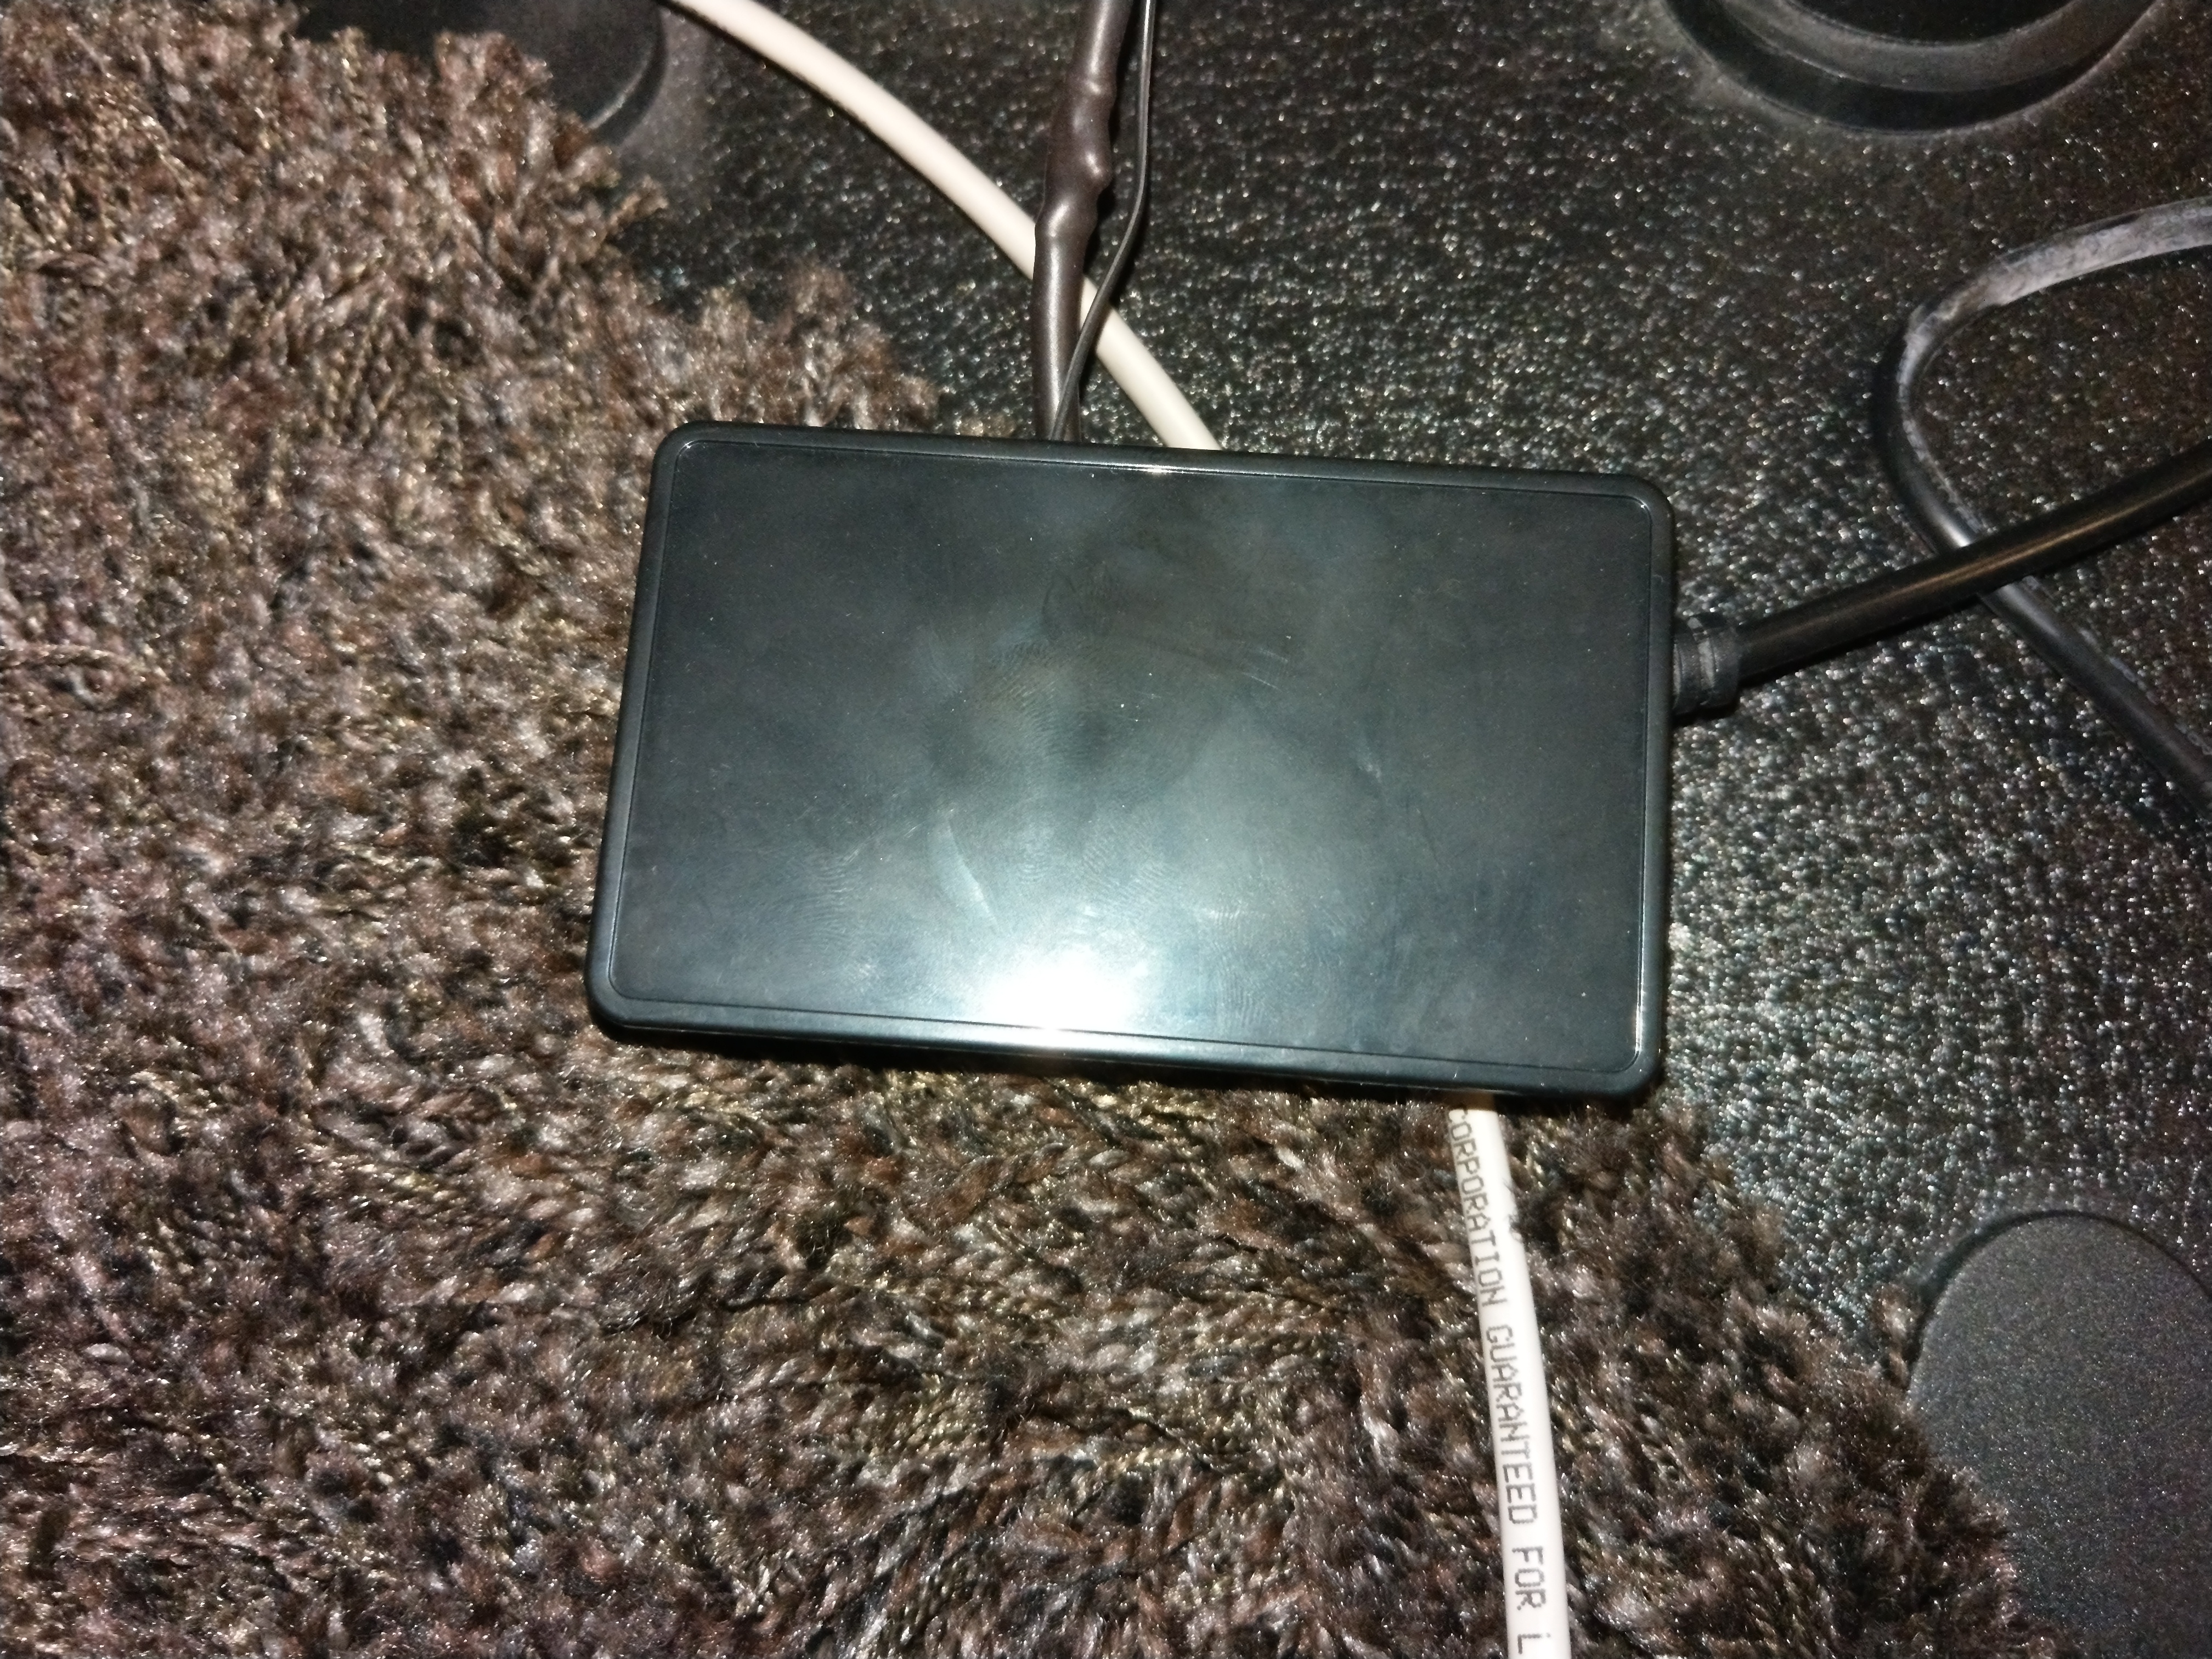
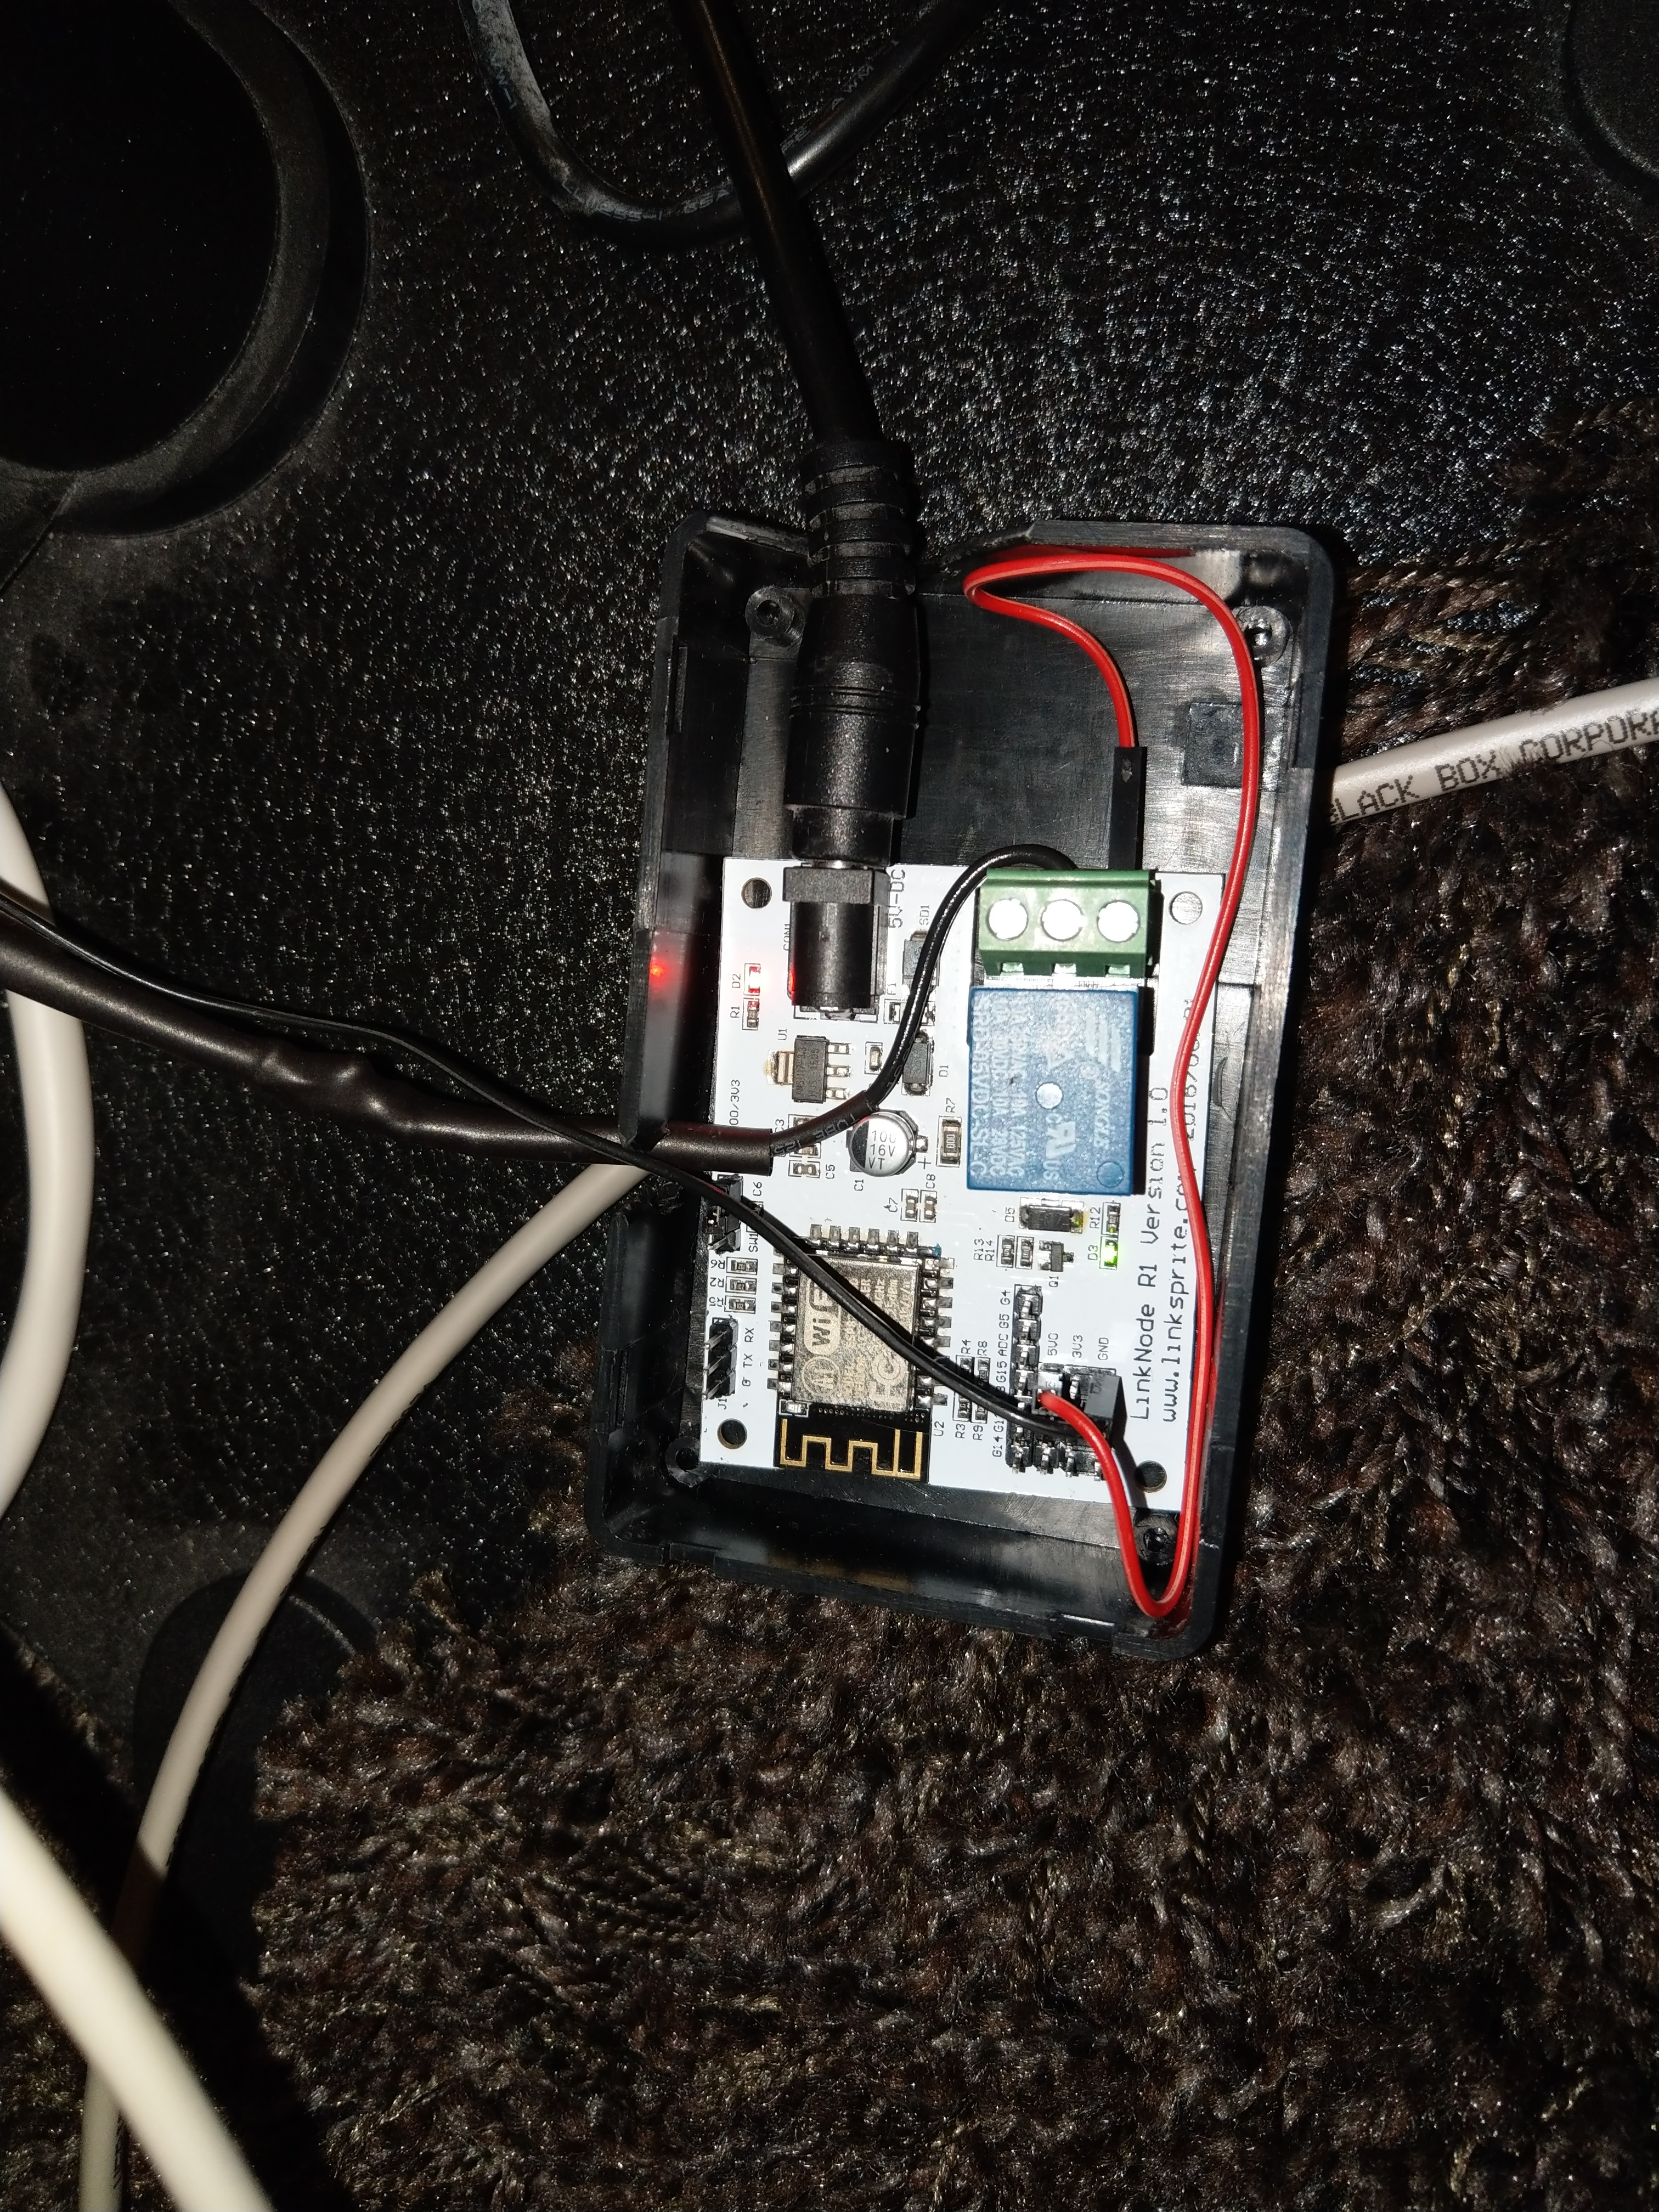
A fully integrated ESP8266 relay, power input, and outputs. This is the LinkNode R1.

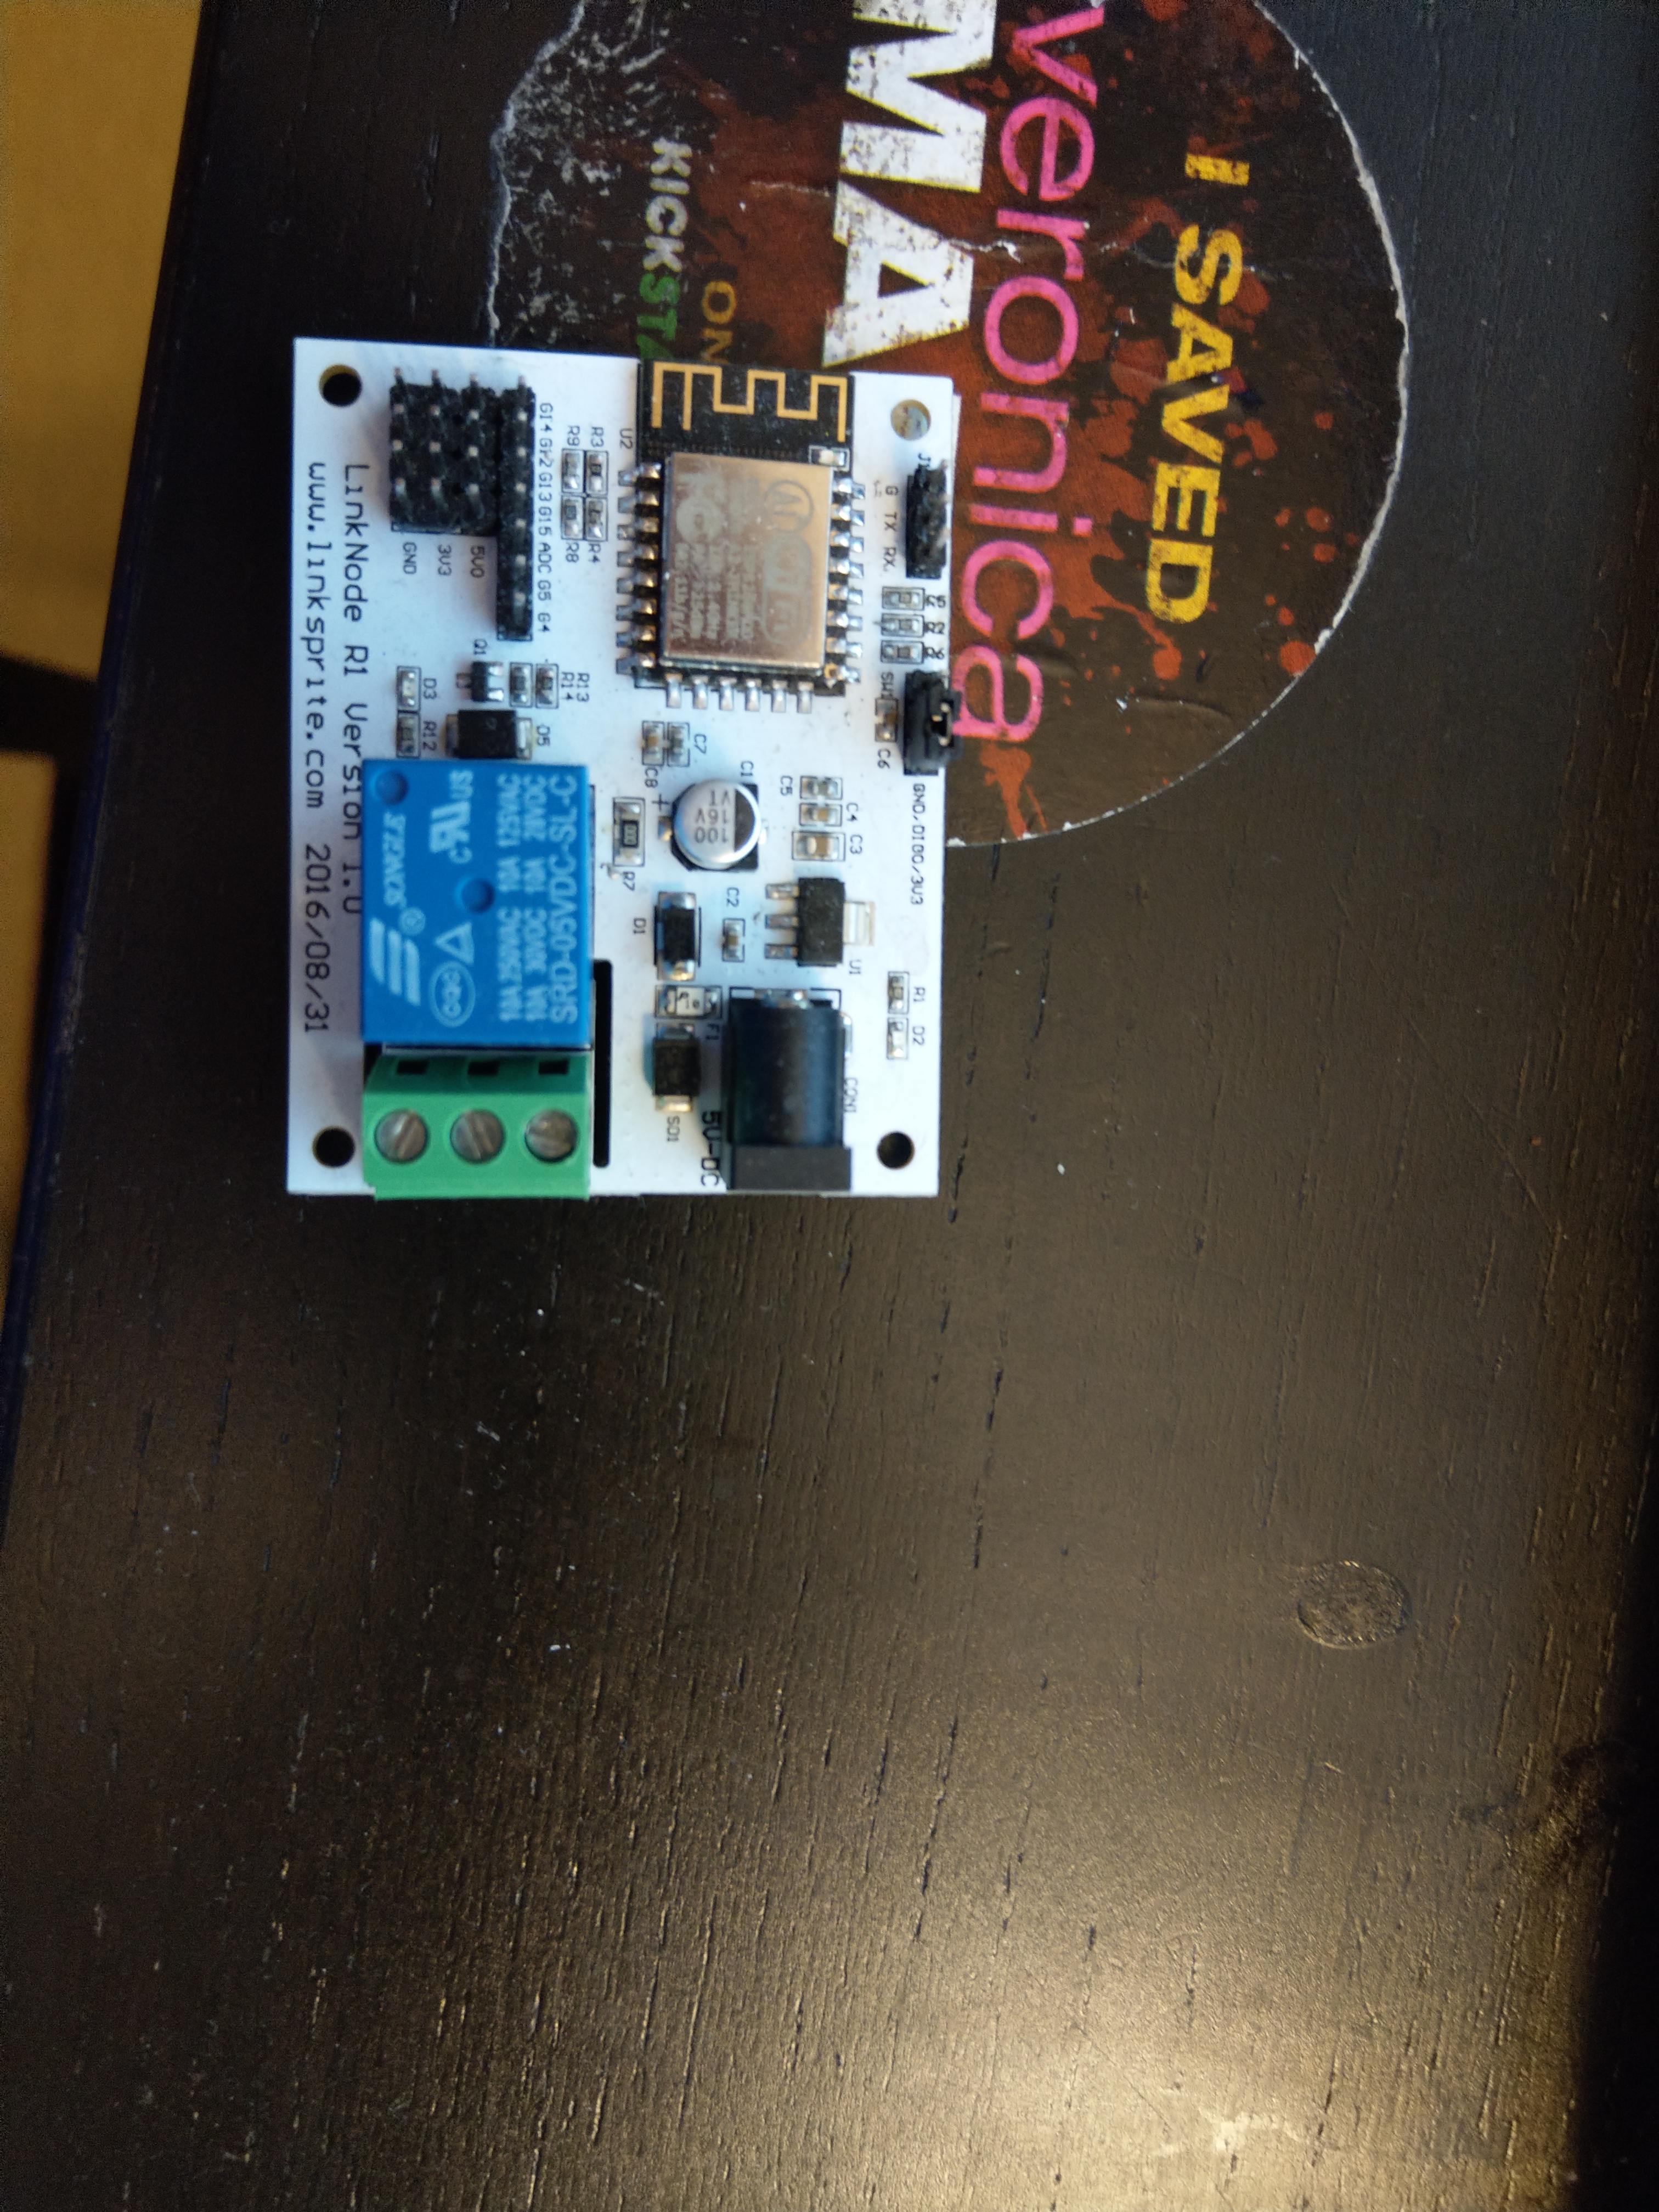
The controller fit inside a project box with the input 5v barrel connector and the output wiring to hook up a pair of sconces.